9.3.2 로그인
GET /login 요청이 들어오면 로그인 페이지를 화면에 출력하고, GET /logout 요청이 들어오면 세션 정보를 제거한 후 다시 로그인 페이지로 이동하는 핸들러를 작성해 보자.
▼ main.go
router.GET("/login", func(w http.ResponseWriter, r *http.Request, ps httprouter.Params) {
    // 로그인 페이지 렌더링
    renderer.HTML(w, http.StatusOK, "login", nil)
})
router.GET("/logout", func(w http.ResponseWriter, r *http.Request, ps httprouter.Params)
{
    // 세션에서 사용자 정보 제거 후 로그인 페이지로 이동
    sessions.GetSession(r).Delete(keyCurrentUser)
    http.Redirect(w, r, "/login", http.StatusFound)
})
이제 로그인 페이지를 간단히 만들어 보자. templates 디렉터리에 login.tmpl 파일을 생성하고 로그인 html 페이지를 작성한다.
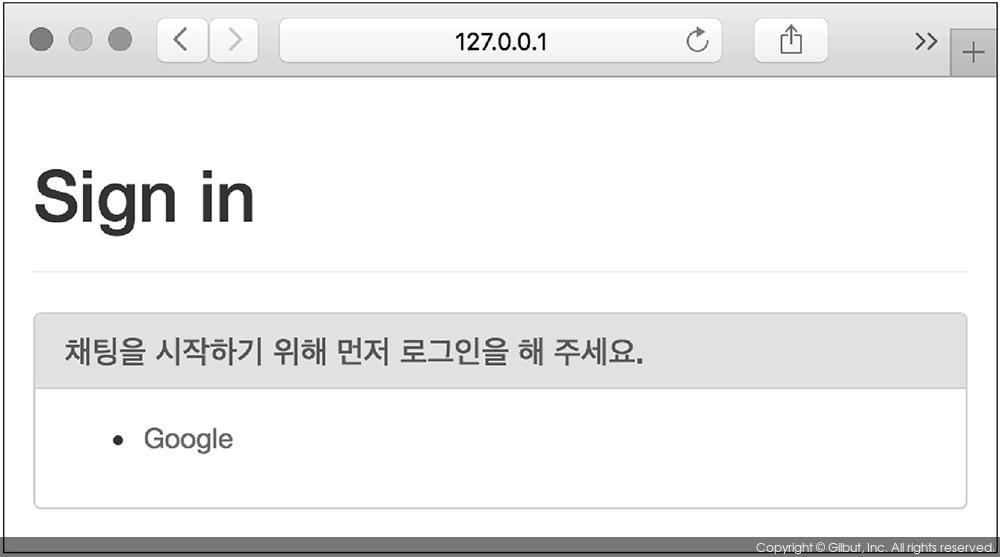
▼ templates/login.tmpl
<html>
<head>
    <title>Login</title>
    <link rel="stylesheet" href="//netdna.bootstrapcdn.com/bootstrap/3.3.5/css/bootstrap.min.css">
</head>
<body>
    <div class="container">
        <div class="page-header">
            <h1>Sign in</h1>
        </div>
        <div class="panel panel-danger">
            <div class="panel-heading">
                <h3 class="panel-title">채팅을 시작하기 위해 먼저 로그인을 해 주세요.</h3>
            </div>
            <div class="panel-body">
                <ul>
                    <li>
                        <a href="/auth/login/google">Google</a>
                    </li>
                </ul>
            </div>
        </div>
    </div>
</body>
</html>
로그인 페이지에서 Google을 선택하면 서버에 GET /auth/login/google 요청이 전달된다. GET /auth/login/google 요청을 받아 로그인을 처리할 핸들러를 작성해 보자.